Time needed: 5 minutes
Follow from Step 1 to Step 7 in order to create Opnet using Network Simulator projects. Quick guide to create Opnet Network Simulator. Reach us , if you want an customize Opnet simulator projects works for scholars.
- Need Software & Installation
1) OS: Windows 7[ultimatate -x86]
2) Processor:dual core or above
3) Ram :minimum 2GB
4) Riverbed opnet -17.5A
- Download and install Opnet
We can download the Riverbed opnet -17.5A from the following Link
http://www.rishiheerasing.net/modules/can3102/tools.html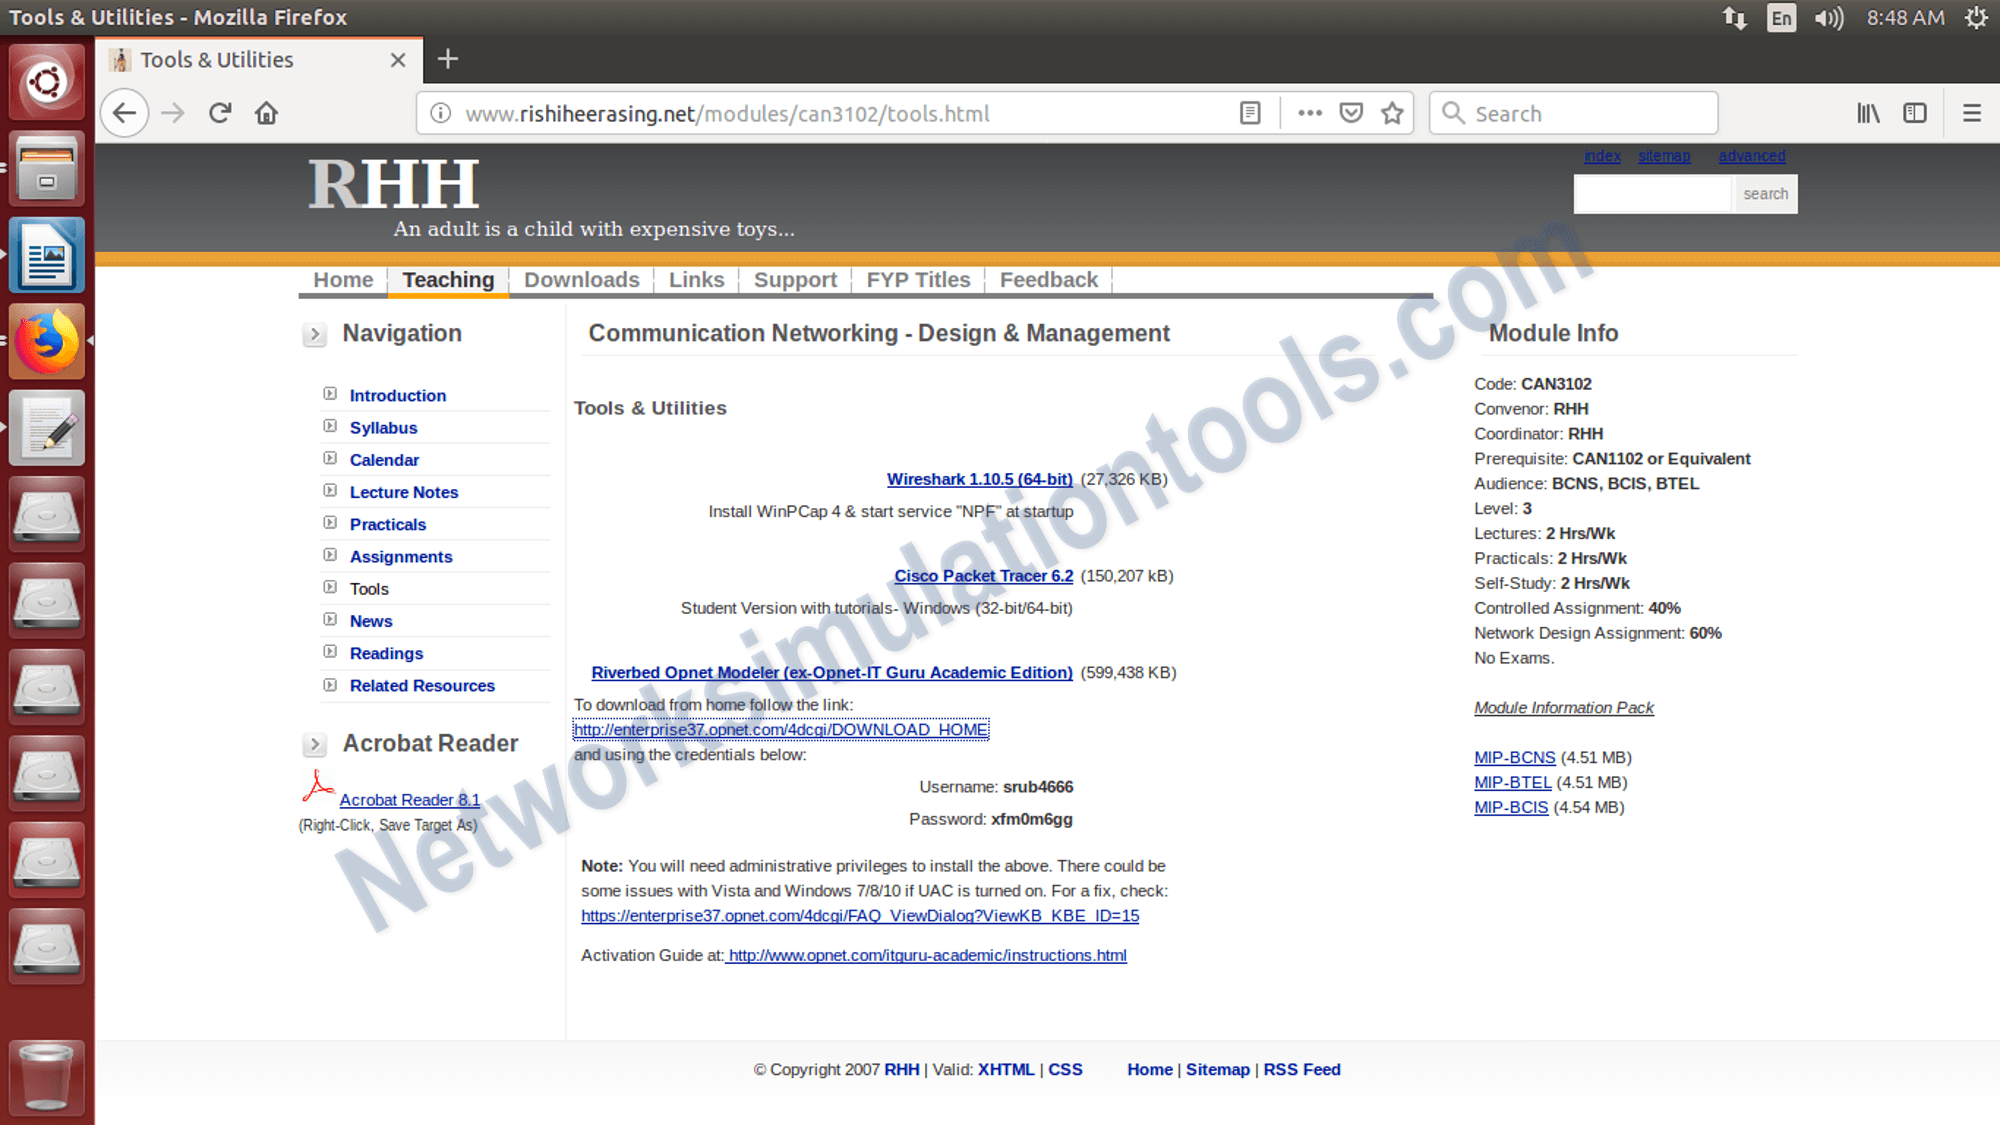
- Installation perform the following Steps
1) click on the downloaded file , which is named as, modeler_ae_175A_PL7_13312_win.exe
2) Next,Accept the license condition from the terms window.
3) Next, Click on Next Button from the window.
4) Next, Activate the tool,based on the token. During the installation the token is generated. wsl distro location
 - Opnet Tool
Activate the opnet tool,based on the token. During the installation the token is generated. Open the tool to open the installed software.

- Run the project
Open the tool to open the installed software, goto start menu and select the tool name with the installed version

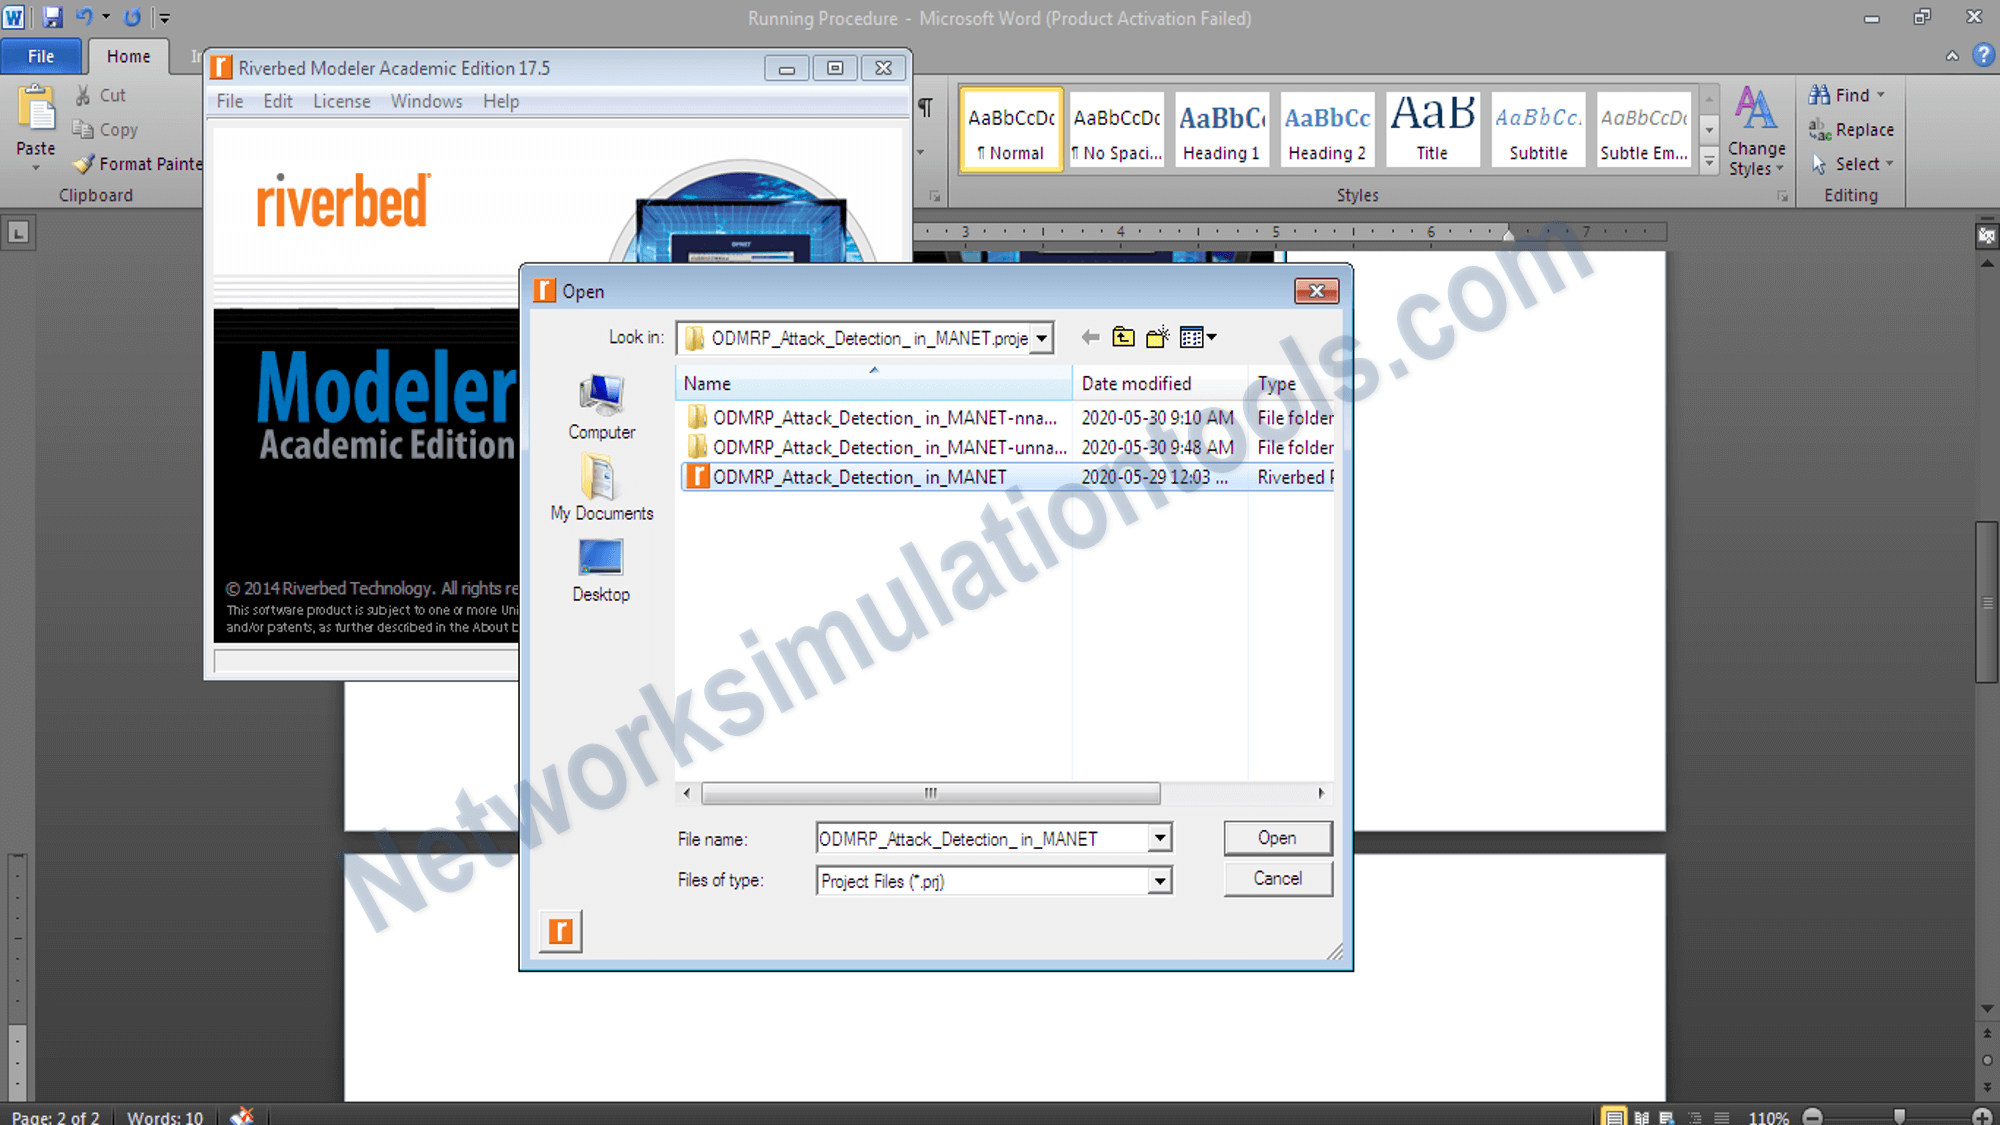
- Open the already completed project
Open the already completed project file , which is already developed and stored in the local drive. The topology construction and process are based on the required algorithm and protocols.
- Run the simulation
To run the simulation , we need to click on the configure/run discrete event simulate button and get the simulation area.
 wsl distro location
If you face any issues on How to Use Opnet Network Simulator, reach us to create an customize Opnet network simulator projects.
Related Links
# In Windows PowerShell (Admin) Optimize-VHD -Path D:\wsl\Ubuntu\ext4.vhdx -Mode Full Now you can keep your C: drive breathing room while your Linux environment lives happily on a larger SSD or HDD. Have questions or another WSL tip? Drop a comment below!
Get-ChildItem "C:\Users\$env:USERNAME\AppData\Local\Packages" -Filter "*ext4.vhdx" -Recurse -ErrorAction SilentlyContinue Inside your WSL distro, run:
# Find the block device df -h / wsl.exe --list --verbose
If you’ve installed WSL (Windows Subsystem for Linux) and started filling up your $HOME directory with projects, you might suddenly realize your C: drive is shrinking. By default, WSL stores its virtual hard disks ( .vhdx files) on your Windows drive. wsl distro location